Creating and maintaining a PC is overwhelming, but cobbling all the hardware together is simpler than it can seem. For the most part, designing a machine involves knowing where and how to plug in your hardware and connections.
Building a PC can be daunting as the components and hardware are quite costly, plus the complexity in assembling these components. But sincerely, if you can build pieces with a Lego puzzle, then building a PC from scratch wouldn’t be so much of a problem. On us-reviews.com you can find a list of electronic stores in the US.
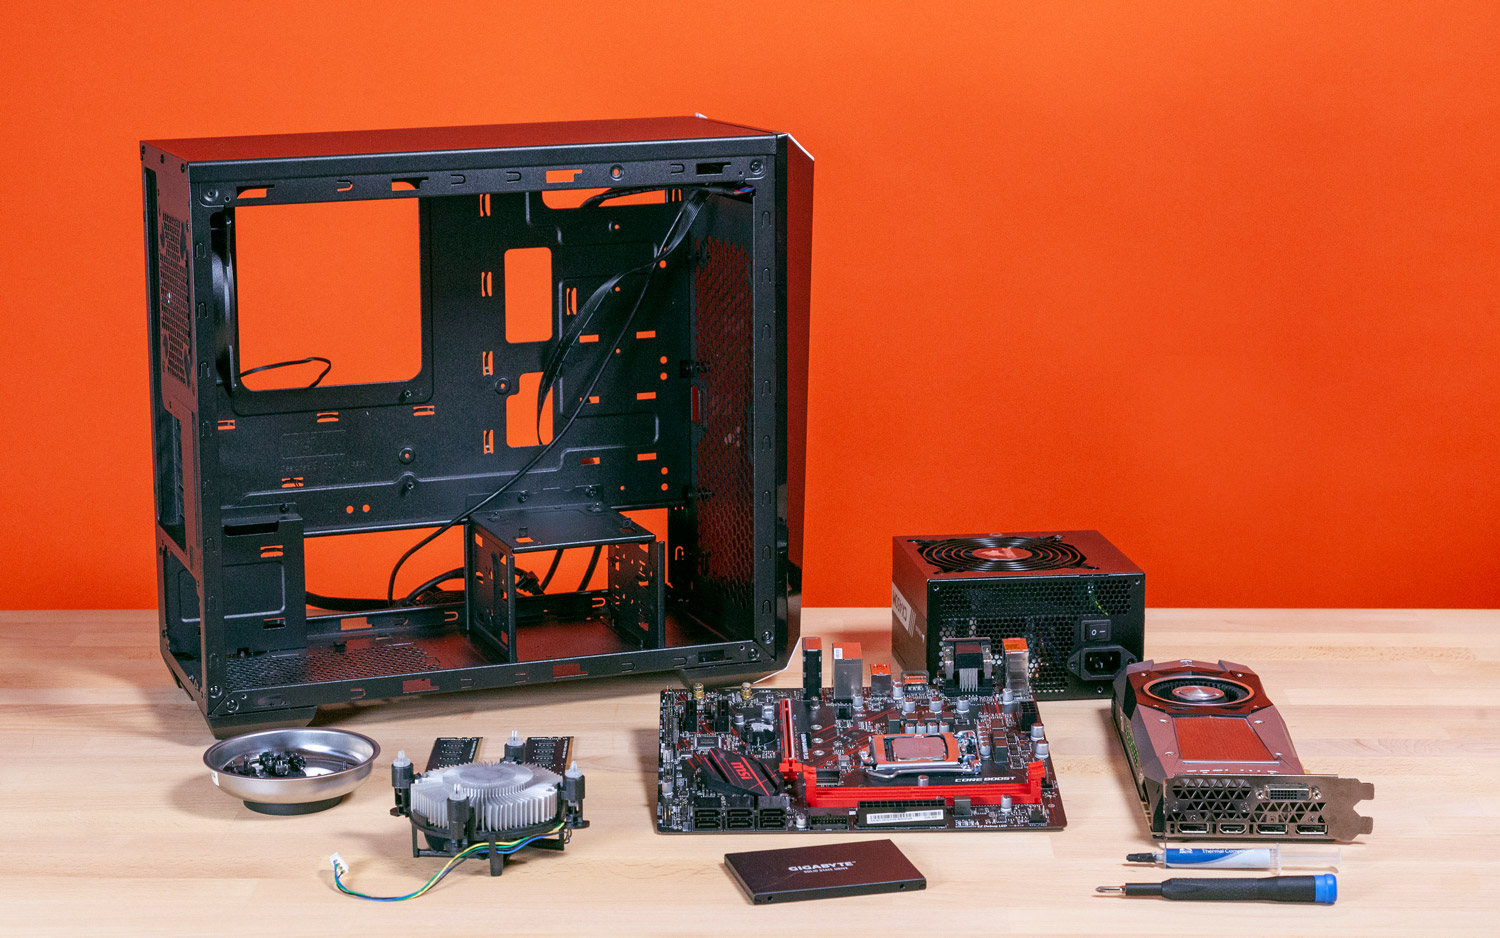
Below are 7 steps to build a pc by yourself:
1. Install the power supply
The power source should be the first part to enter the case (PSU). It is mainly positioned at the base or the top of the container. In case of doubt, the slot can be conveniently positioned on at least two sides by looking for a square opening with a screw hole.
2. Install the processor
Connect CPU and RAM before mounting the motherboard. They are much easier to mount than after the motherboard. In reality, you might not be able to construct your device with the already mounted motherboard facing on your case and fan.
3. Install the RAM
The memory of the machine or RAM needs no careful positioning of wires. Two main factors are available, provided you have selected a suitable RAM: Option of address and slot. The path is sufficiently simple. The connections along the bottom edge of the terminals are marked with an entry mark in the memory slots of the motherboard.
4. Install the motherboard
It is simple enough to mount your loaded motherboard, however, in your situation, it can’t just rest. Many modern cases include integrated non-removable spacers, identified as standing offs, between the wall and the motherboard. The links on the back do not shorten as a base to the motherboard.
5. Install the CPU cooler
The CPU kit cooler is easy to install. There are various brands and generations available in the market. However, to get more information, you must research and read about different brands to choose the best CPU cooler.
6. Install the graphics card
Not all systems need a special graphics card. Configuration cannot be more straightforward if you’d like a stand-alone chip for graphics like PC gaming. We also assume that the model you have chosen is suitable for your case size, power supply, and capacity. You must detach a rectangular backplate from the framework to place the card in that position. It is one of many thin steel brackets lined to hold the container screwed up.
7. Make the final connections
To ensure everything was correctly placed and wired before you get eager to press the start button, it’s worthwhile to run back through the device. Get the pieces installed. You might have to take a closer look across the connections that are accessible to your power supply.
Bottom line
The guidelines available in this article will help you build a PC of your desired specification which will run basic software applications and help in the input, processing, and output of data.